Oil paintings are usually made in layers. The old masters used many thin translucent layers to build up their masterpieces.
More recently some very spontaneous works by the Impressionists were laid down in one session in one layer. That was the whole purpose of Impressionism- to capture the moment. Many modern works, especially abstract expressionist work, might also be rapidly painted in one layer. This type of painting can also be called wet in wet, because paints are added quickly before the previously added paint has dried. This technique was very recently popularised by Bob Ross the American TV artist, who showed how everyday people with little time on their hands could create lively paintings quickly.
Despite the practices of spontaneous modern art, many artists still use several layers of paint to make an oil painting. The innate transparency of the oil medium make it easier to create transparent layers, each affecting the layer above it. That is the type of painting I am making below.
I do not have a name for the painting yet. 'Garden of Eden' was one suggested name but I do not want it to be religious. I prefer to think of it as a man and a woman in a primeval forest. The plants and creatures are drawn from those which are found in temperate Europe.
Prepatory drawing
Always make a quick prepatory study for a painting first with a coloured medium such as pencils or watercolour. This will establish if the idea for the painting works. The artist needs to be happy with the picture at this stage. Oil paintings can take a long time to complete and no one wants to abandon one half way through, should they find that they dislike it. Artists should always paint what excites them or they may get tired of a work before completion.

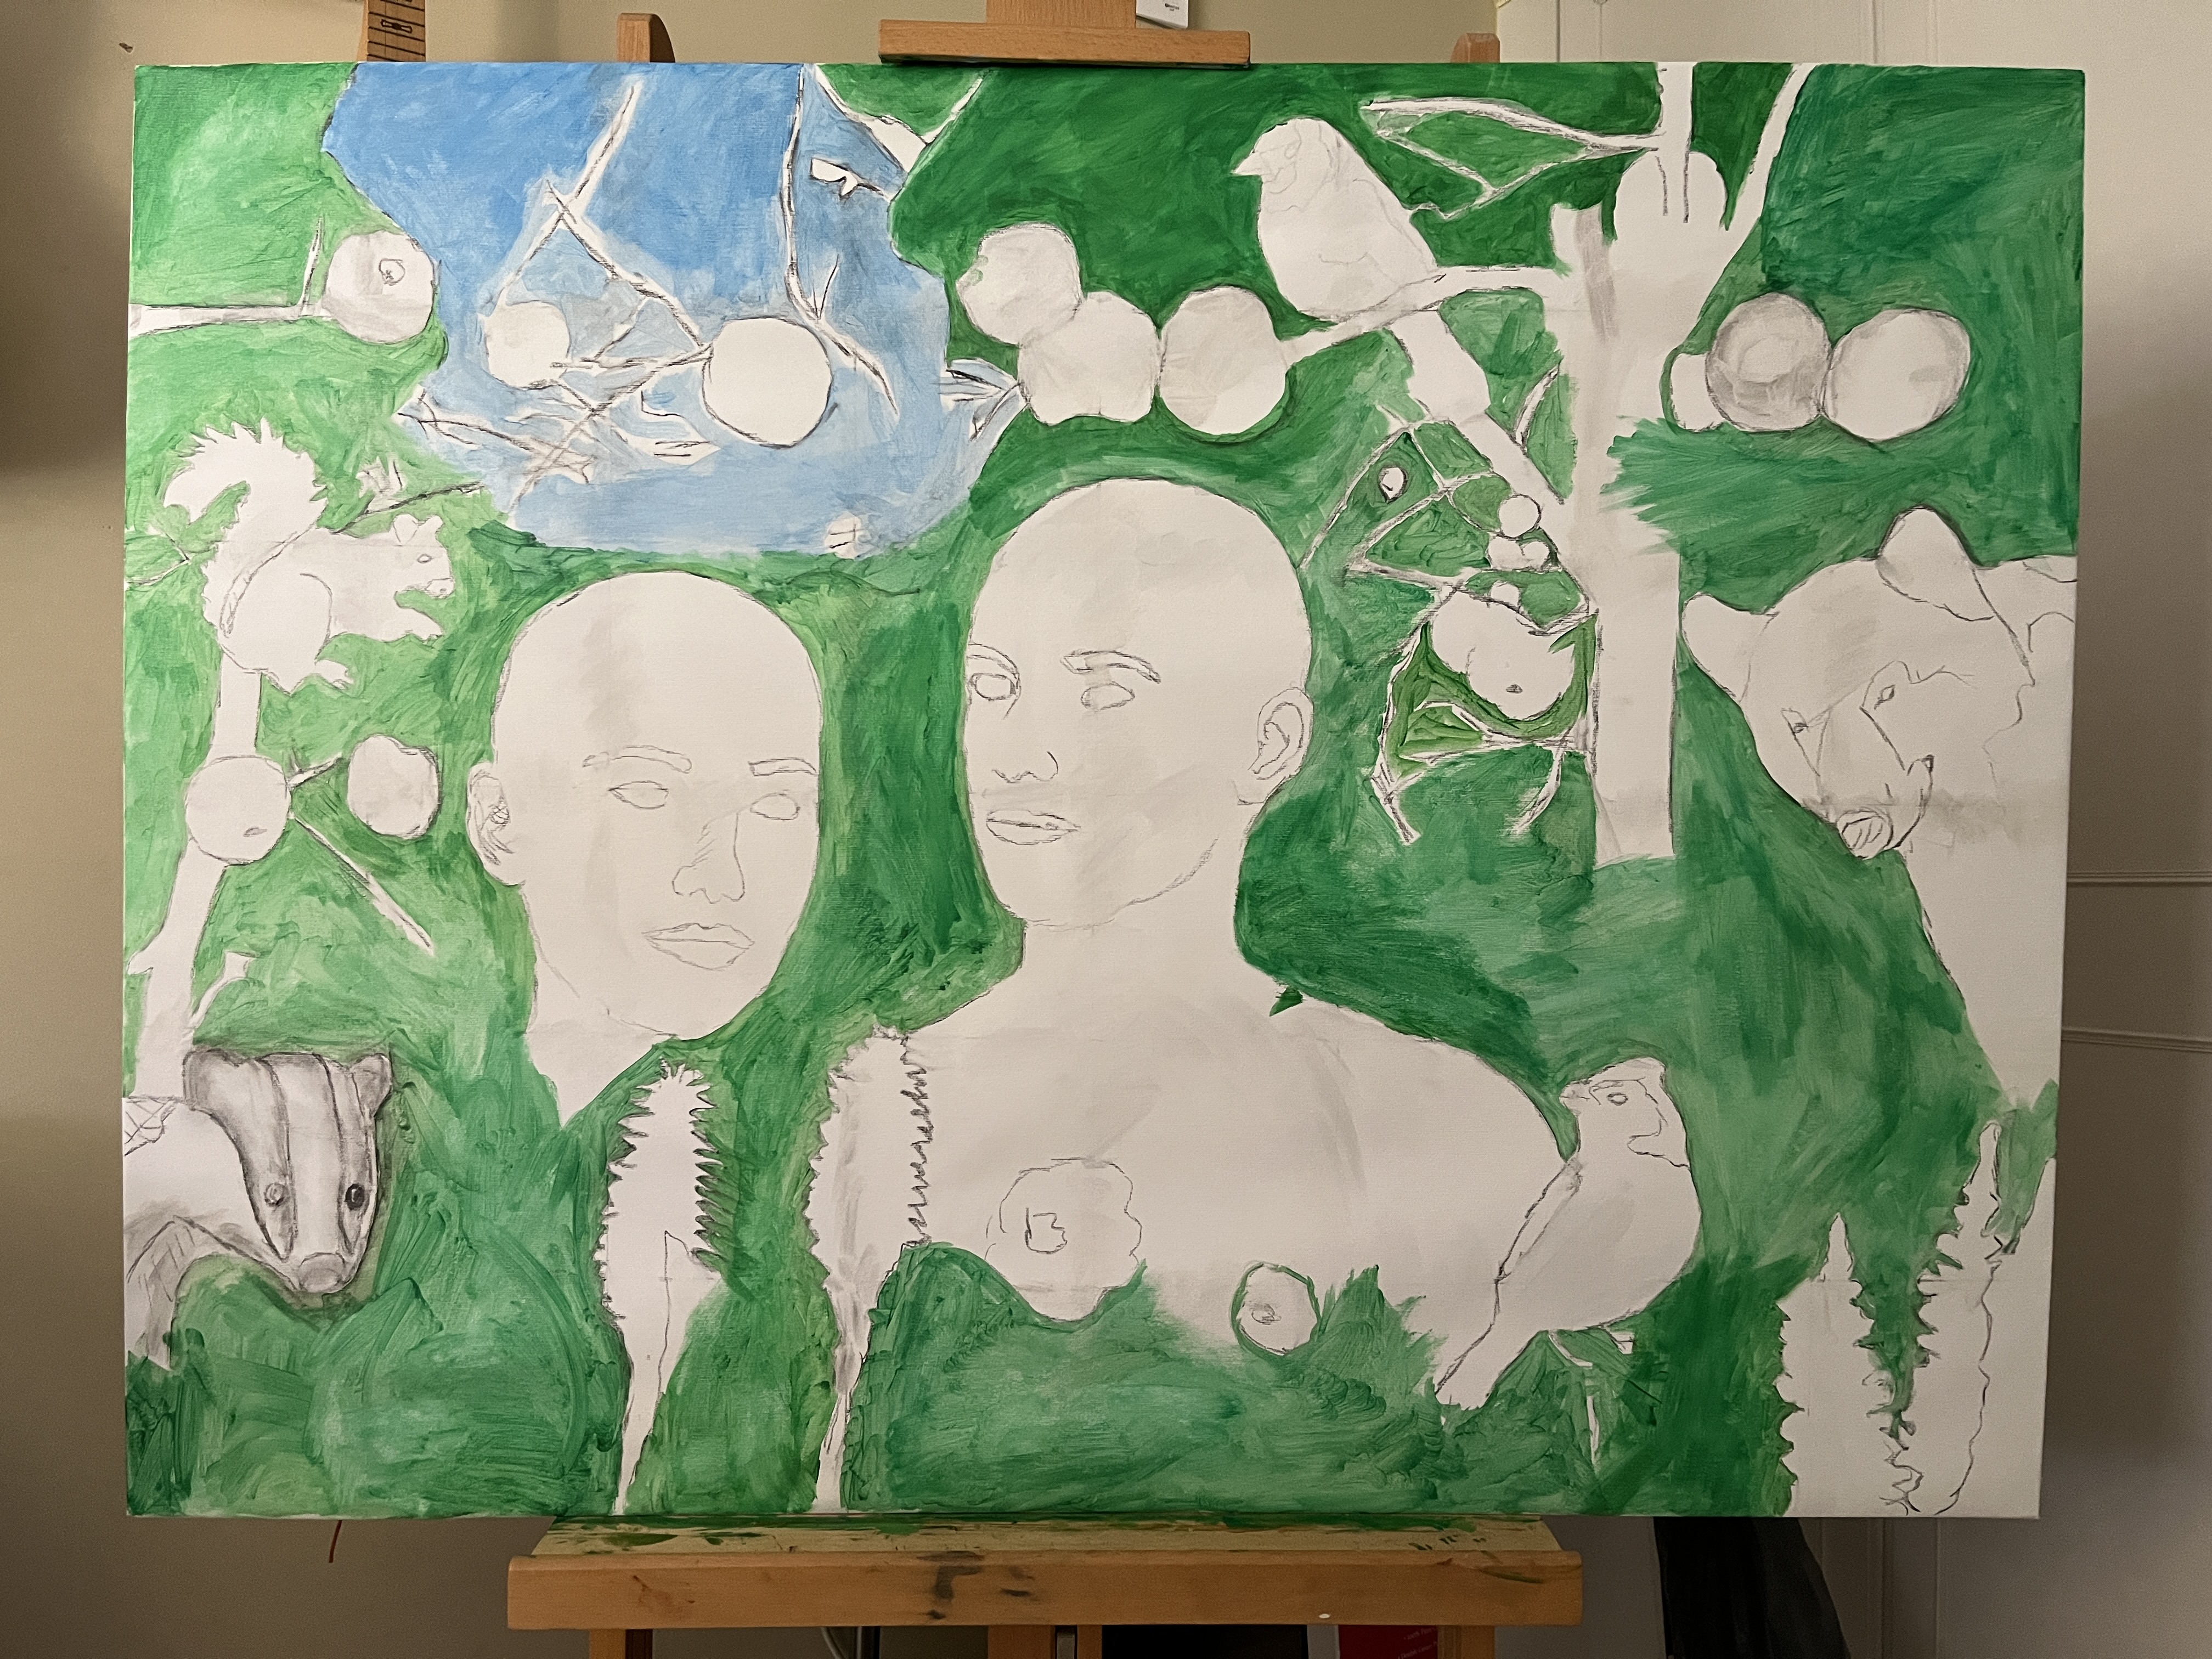
Beginning an oil painting – the basic drawing in charcoal
To help to scale a prepatory study to a full painting it is a good idea to use charcoal or a pencil to draw a grid on the canvas or panel as can be seen above. This helps to place things in the correct part of the painting.
I prefer to also draw the outlines of the main objects and then begin to block in the colours of the main objects.
Beginning an oil painting - blocking in the colour areas
Many artists nowadays use acrylics to block in a painting because they can paint quickly and in a thin layer, which dries quickly. Other artists prefer to use oil paints thinned with solvents. I have also experimented with water-based oil paints for the initial layers.
If oils of any type are used to paint the initial layers the artist must make sure that those layers are not too thick, or any subsequent thin layers will crack. The 'fat over lean' principle is very important in oil painting.
Once the main forms are blocked in as above the grid should be removed. I prefer charcoal for grids and drawings as it is easy to remove with a damp rag. Pencil is finer but harder to remove after the grid and drawing has served its purpose.
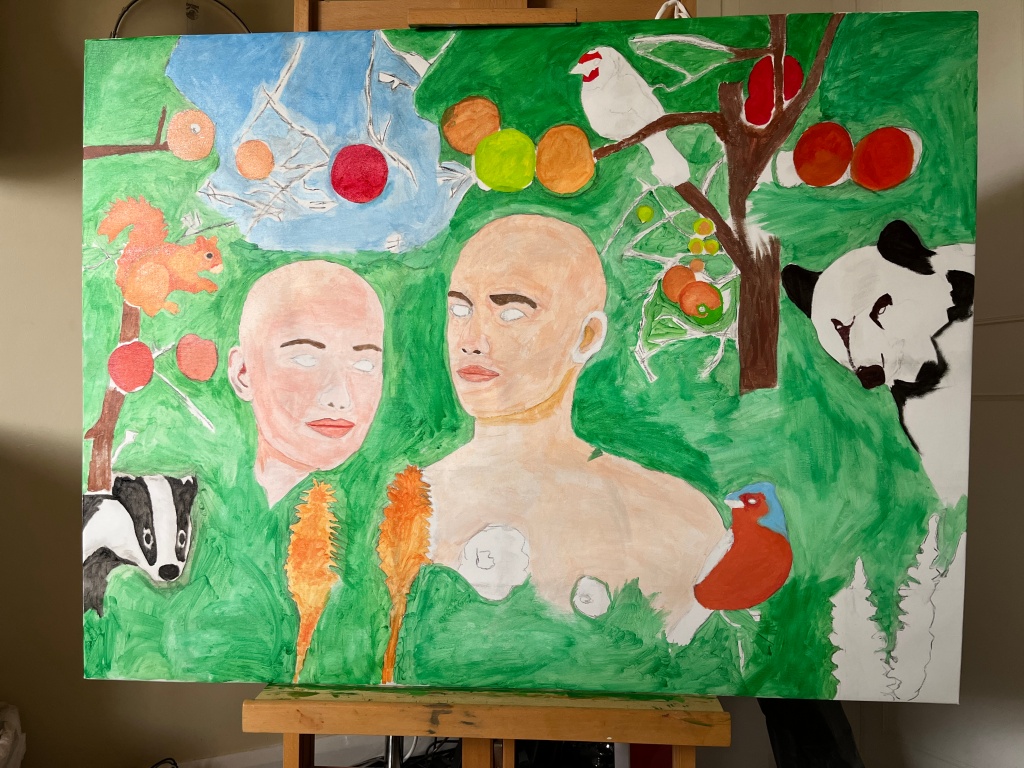
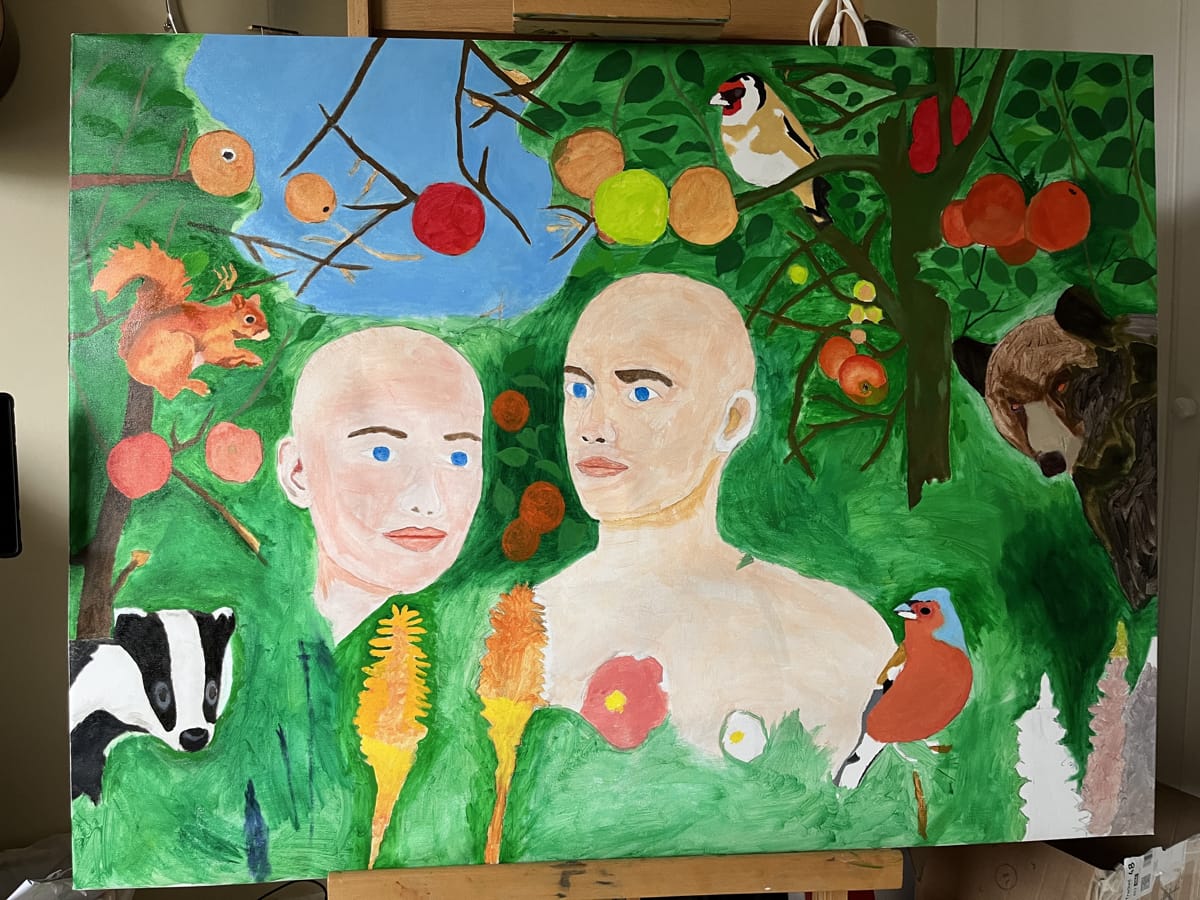
Beginning an oil painting - blocking in more of the colour areas
Once the main picture forms are set the artist then adds more detail. Above in the top of the picture the bird receives some of its red colour. The apples are blocked in. The bear begins to take shape on the right and the badger on the left. Some flesh tones are added to the faces of the man and the woman.
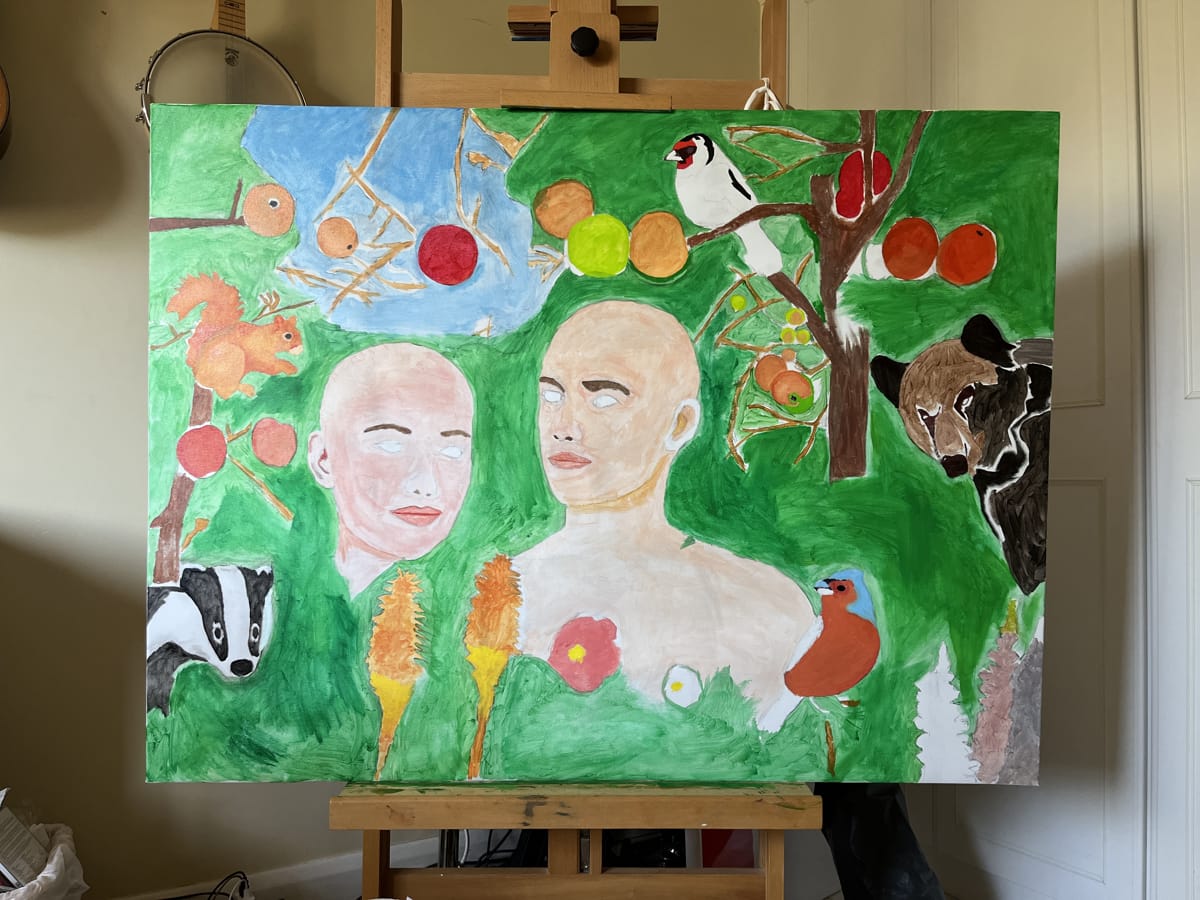
Beginning an oil painting - blocking in more colour areas
Notice above that the badger's head has thickened as the initial charcoal sketch had made it too thin. Such corrections need to be made early in the development of a picture. The bear's head is also further developed. Some of the green background is darkened to add depth to the picture as we develop new layers.
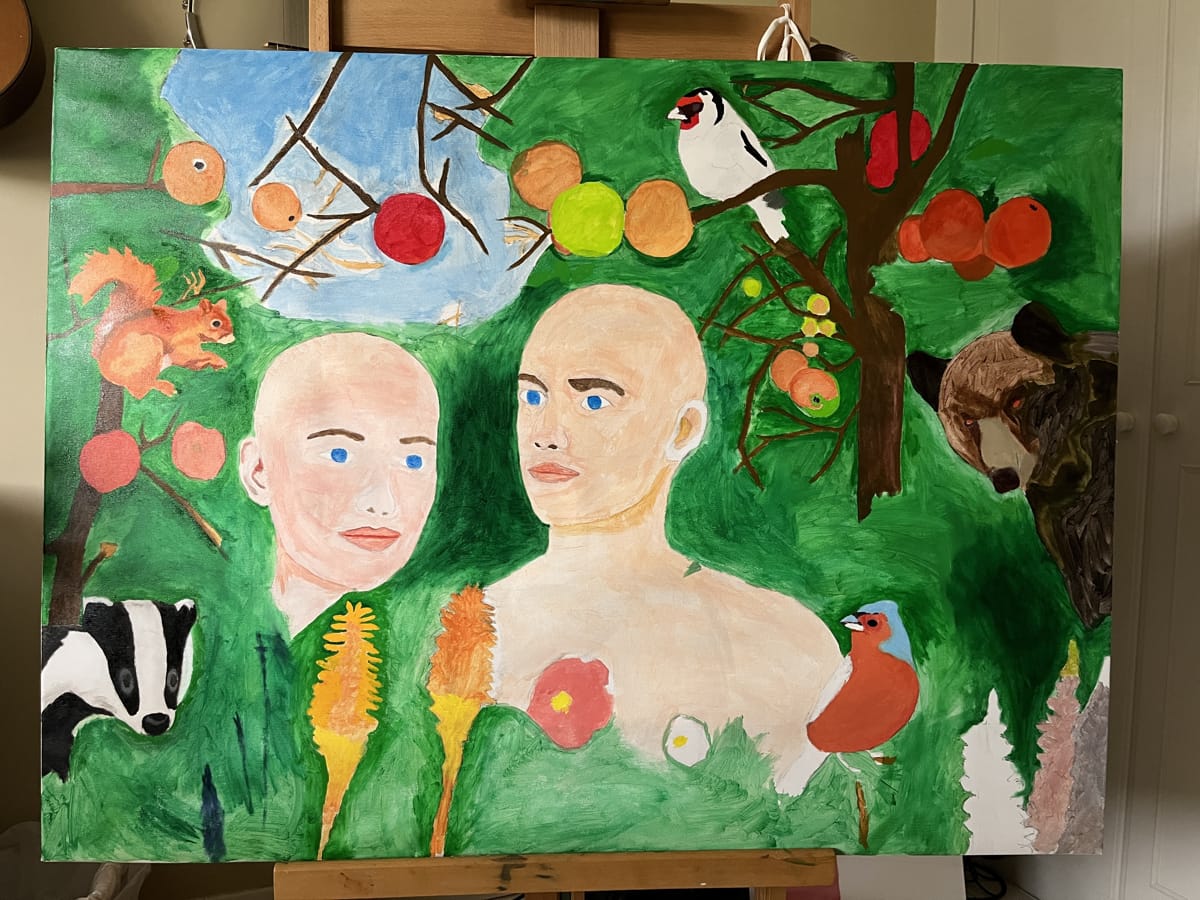
Beginning an oil painting - building up contrast
Above we add more depth to the squirrel and the badger. Notice that the badger's head is now fully shaped and the black colour of its fur is more dramatic. We also begin to darken the blue sky at top left.
Beginning an oil painting - add in some details
Above we add the first foreground leaves into the painting. An important thing that artists learn is that they need to paint in the main objects and features and the viewer's imagination will do the rest. This picture will lead the viewer to see more than there actually is. Behind the leaves the viewer imagines a deep forest receding into the distance. This illusion of depth must be mastered by artists.
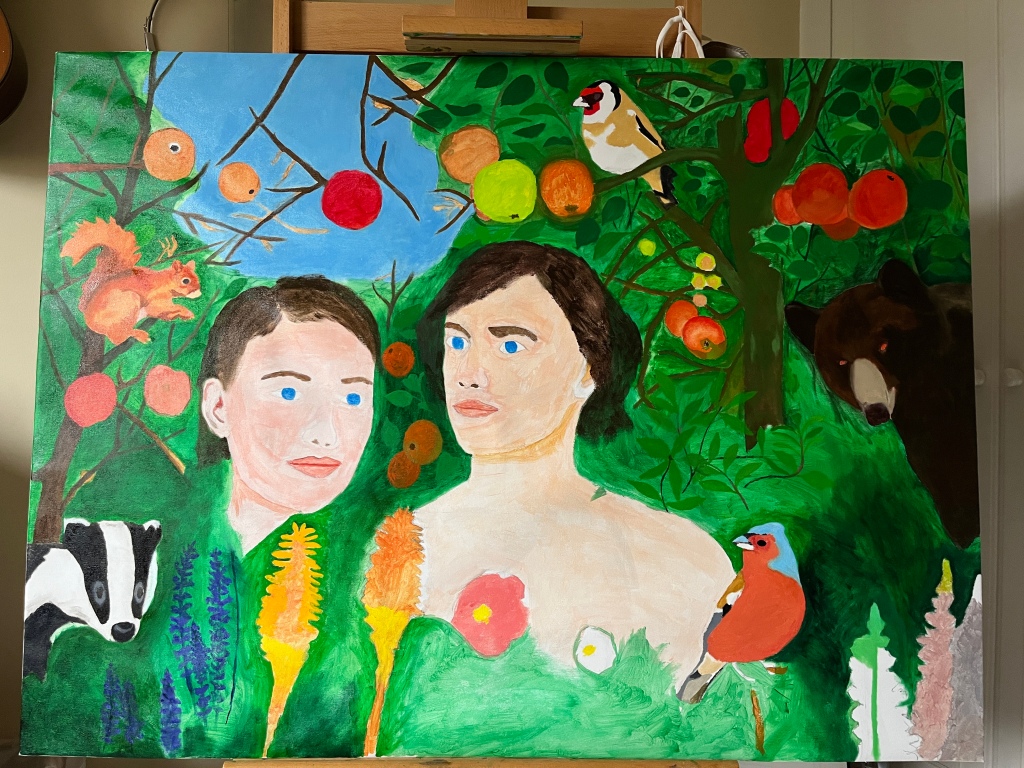
Beginning an oil painting - add in some dark browns
Now we add some more depth to the bear which lurks at the right of the painting. We give the figures some hair and add in some more foreground plants.

Beginning an oil painting - add in another level of detail with more flowers and foliage
Next more colour into the foreground flowers and more foliage in the foreground which creates some depth and mystery in the painting.
This painting is not complete yet, in fact it is only about 40% complete. I will add more detail to it as time passes, and after builders have completed my house renovations.